Simple and easy to use
1.Resource
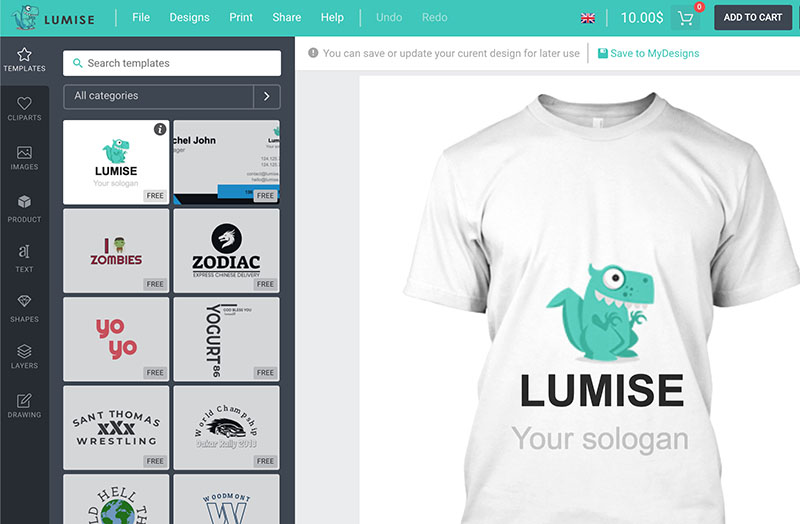
Templates
You can find all of your pre-designed templates in this tab. Quickly sort with template categories, tags, and keywords
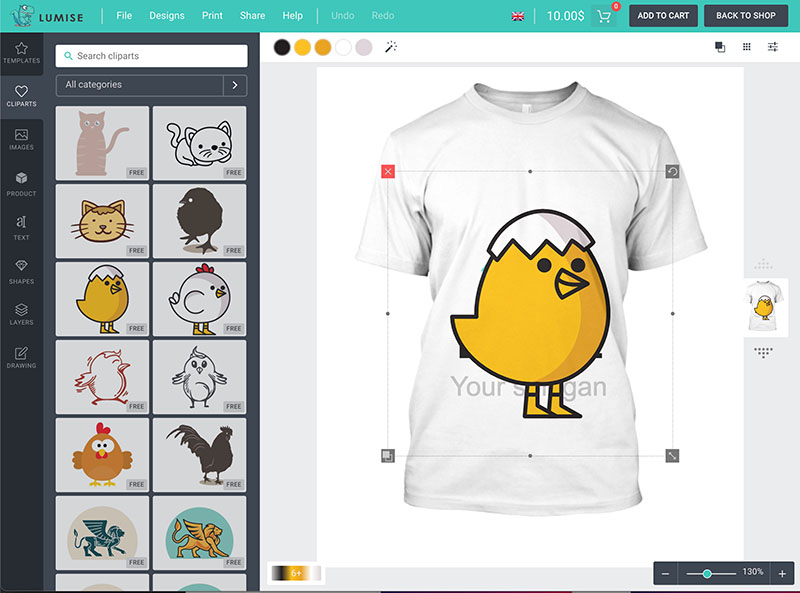
Cliparts
You can find all of your pre-designed cliparts in this tab. Quickly sort with clipart categories, tags, and keywords.

Images
Upload your pictures or sync from social accounts such as Facebook and Instagram. Get images from our free gallery or some image stocks like Pixabay, Unsplash and Brust

Product
This tab includes product info and attribute. From here, you can change your current product to another product, color, or size with the ease of a button.

Text
To use text in your design, reach to this tab and select from over 1000+ Google Fonts. To set your chosen text, drag your mouse and drop it to the product to edit.

Shapes
Shapes are vector format, which helps design have smooth details when zoom or export without crack. You can add more shapes or choose from our pre-designed shapes.

Layers
All layers which you added to the product will display on this tab. You can show/hide layers via the visibility option or delete layers.
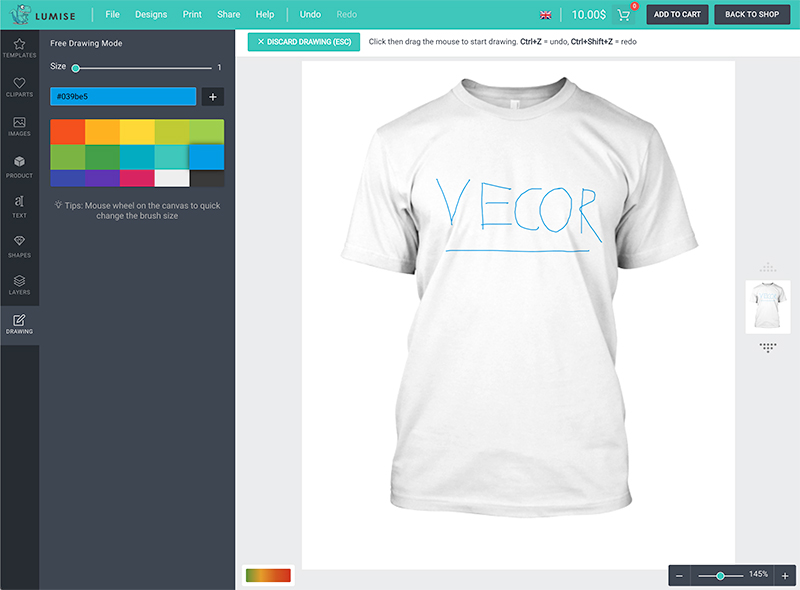
Drawing
This tab is setting to prepare draw info. You can select the color, size of the bush. Just click on the color you want to use and draw what you want into the editor area.
2.Design area

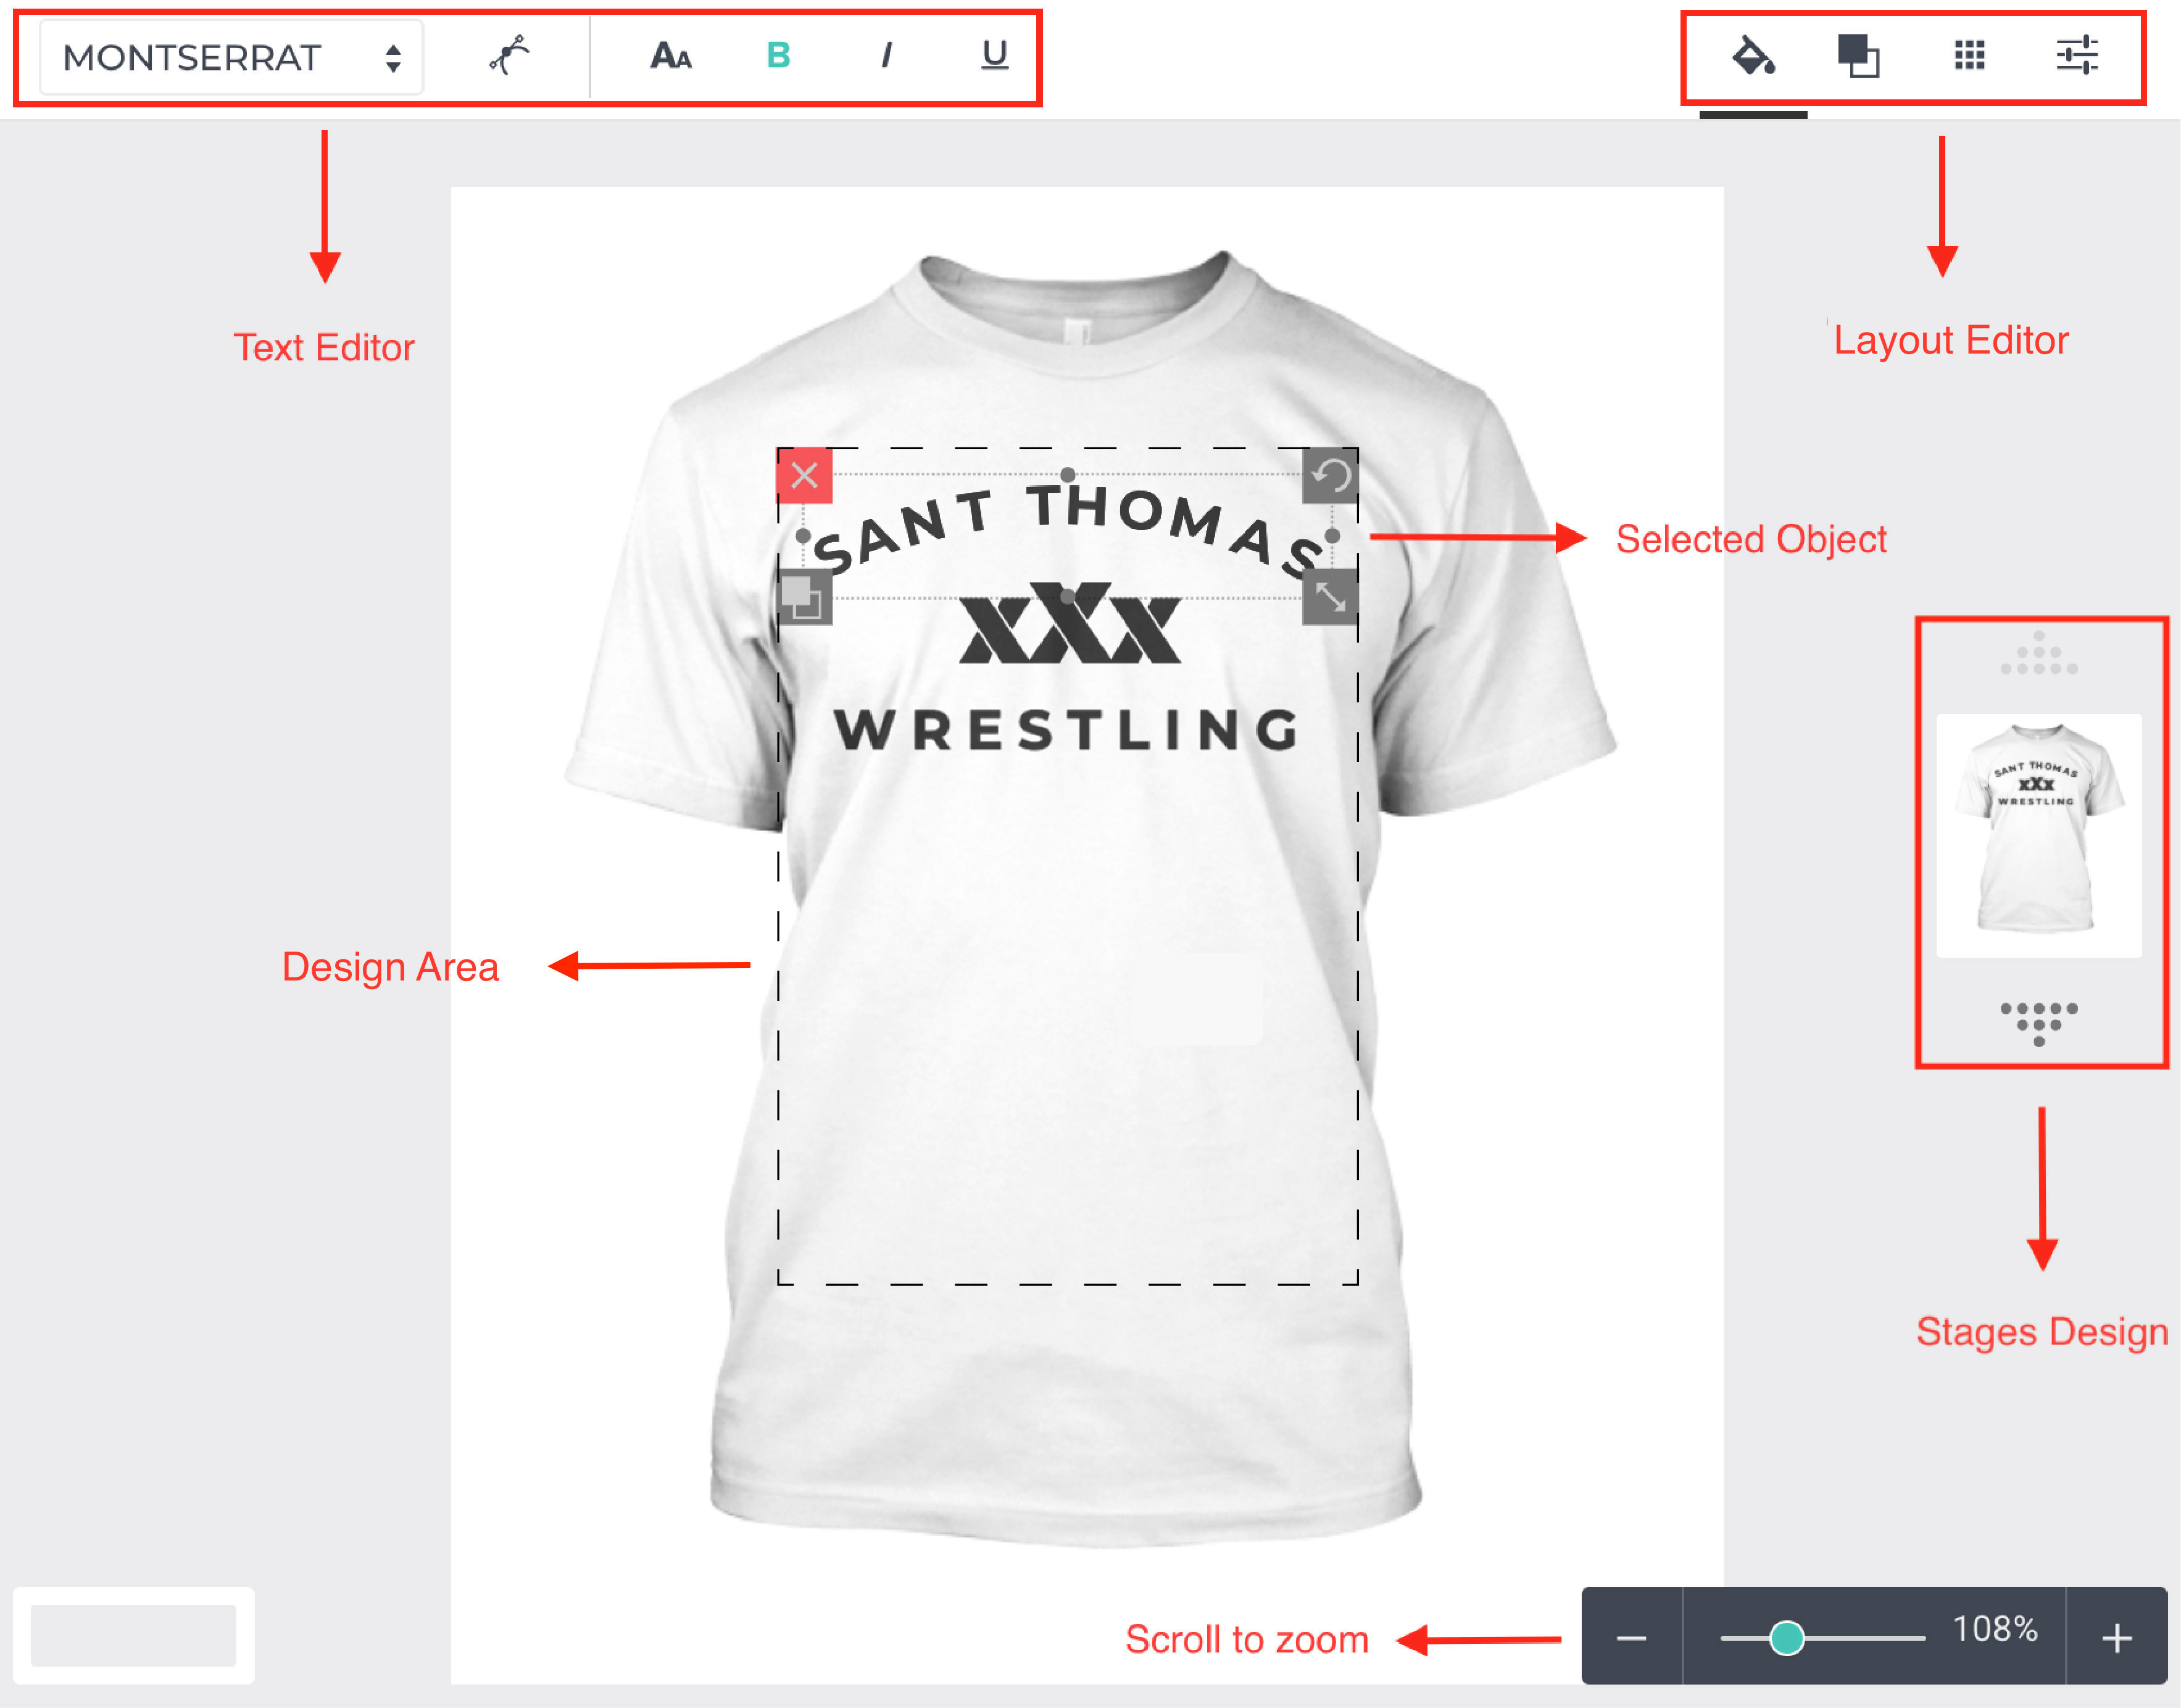
Crop Image
The crop image feature allows you to crop the image with the exact position you put into the viewer.

Image Mask
Do you want to make text with complex background from another image?
Yeah, try the Mask feature in Lumise, make your text more awesome.
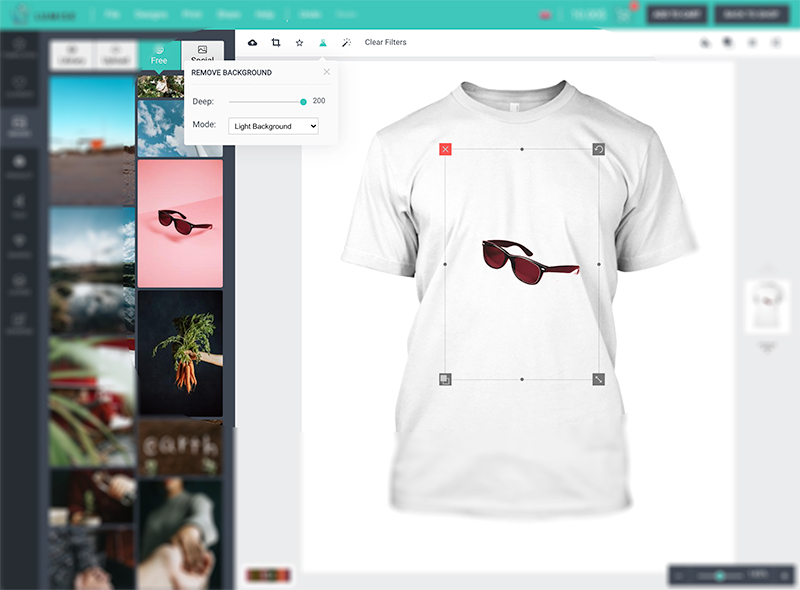
Remove Background
There's no need for Photoshop knowledge to remove the image background. Simply drag your mouse, and everything is settled.

Image Filter Effects
Instantly, make your image professional with 20+ filters which ready to use. This feature helps you make the image have a significant effect as a filter of the camera

Fill Color
Shape, image, and text are three objects that you can apply this fill option. The Fill Color helps users fill a solid color to the selected objects.
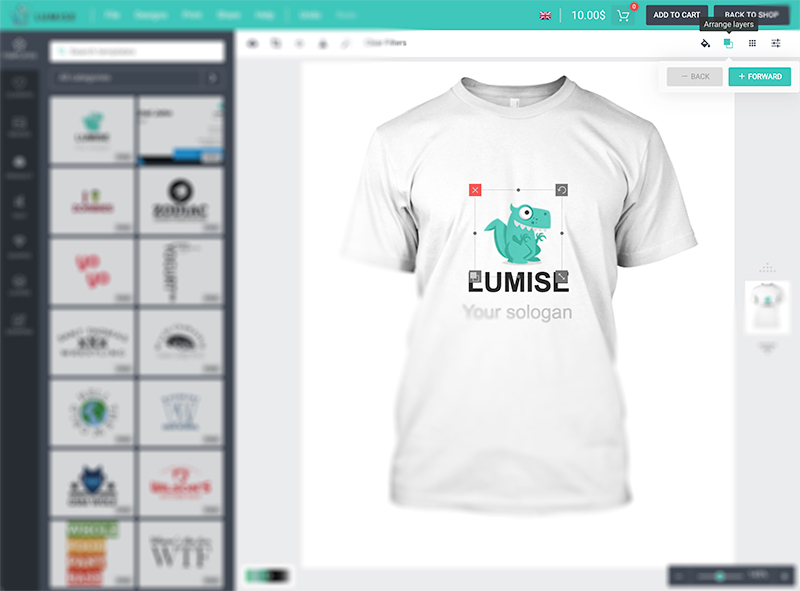
Arrange Layers
The Lumise editor works base on layers. Quickly arrange the selected object position either backward or forward.
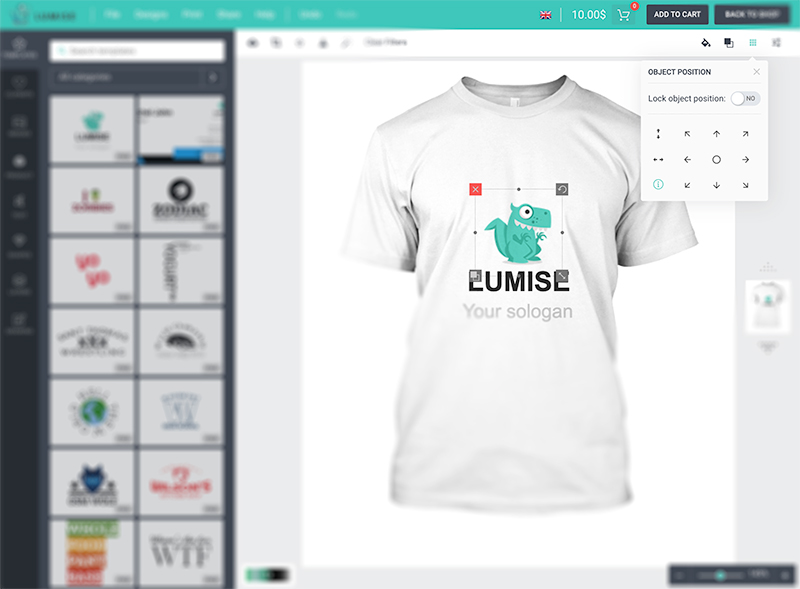
Position
Whether you want to put it in the right corner or center. The Layer Position tool allows you to place the selected object in the correct position with one click.
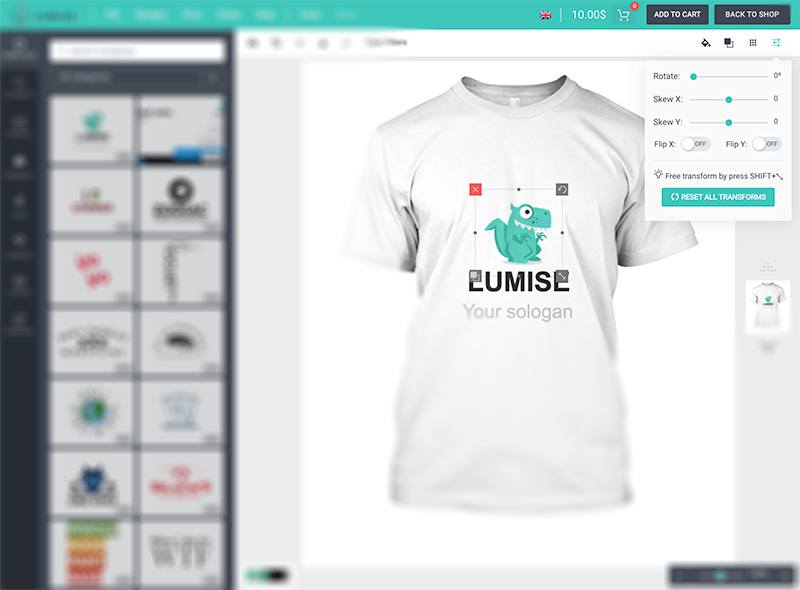
Transforms Manual
When using the transform tool directly, it is hard to know how many angles rotated or flipped. The Lumise provides a manual way to set transform values for a layer.

Font Family
This option allows you to switch to another font family easily. To use more font, just press the Get More Fonts button.
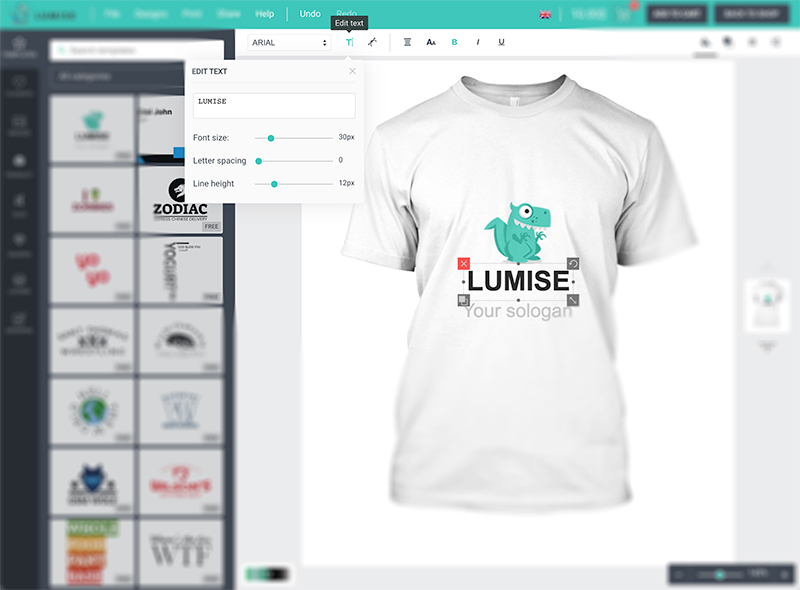
Font Advance
This tool allows you to change the font-size, line-height, letter-spacing even text content
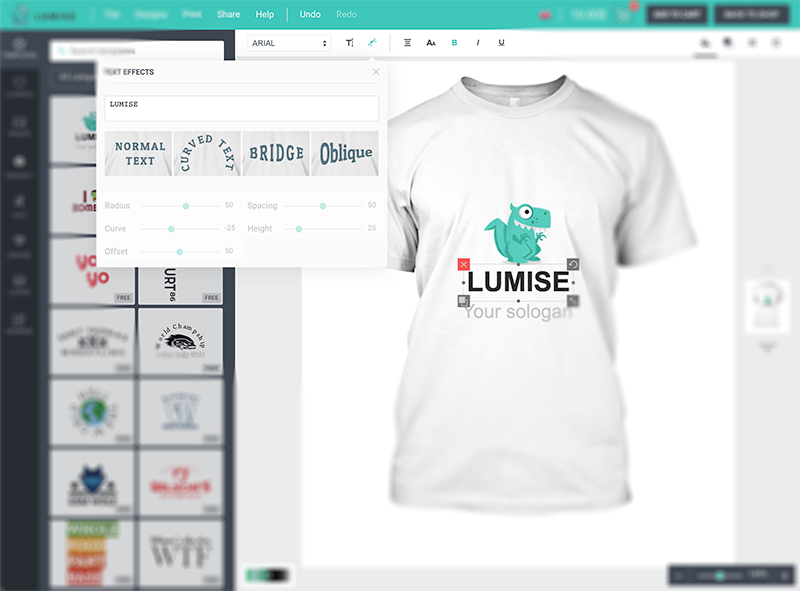
Text Effects
There are four text effects on Lumise. Select a text and choose Text Effect icon to customize your text.
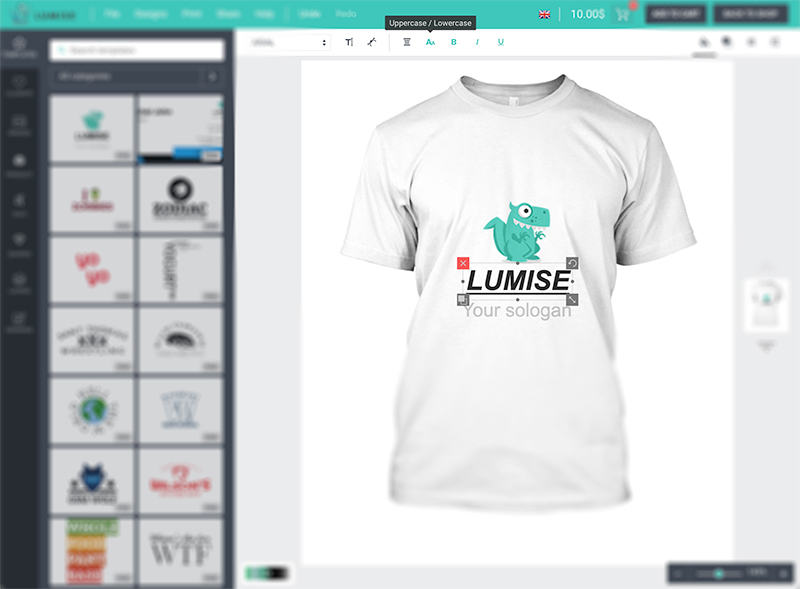
Text Style
These options help you change text style as bold, underline, italic, or text-align.
3.Menu bar

File
There are many variations of passages of lorem ipsum available, but the majority have suffered alteration in some form.
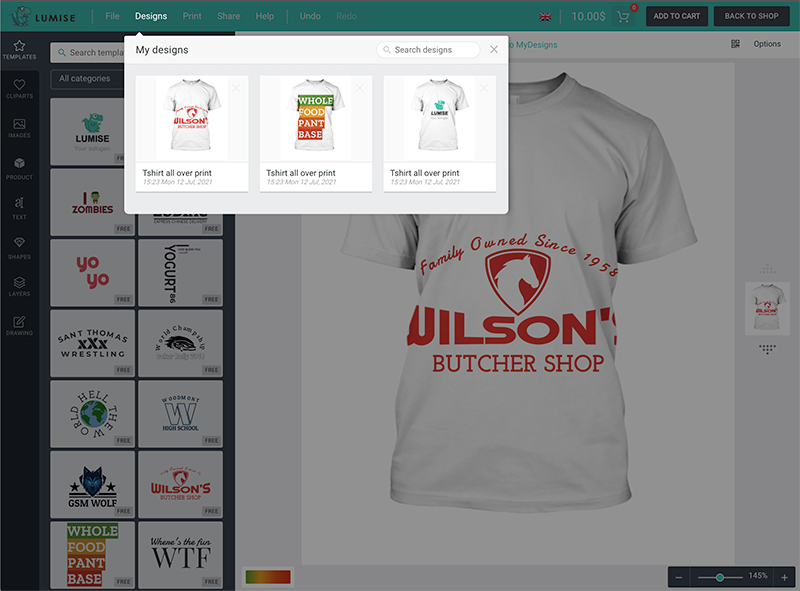
My Designs
This function manages all of your designs on your current account. You can duplicate, edit, and delete any saved design.

Print your current design to printing devices. Just select a size or add your custom size to print the design

Help
A quick guide with shortcut keyboards for you to use Lumise Design Editor faster.
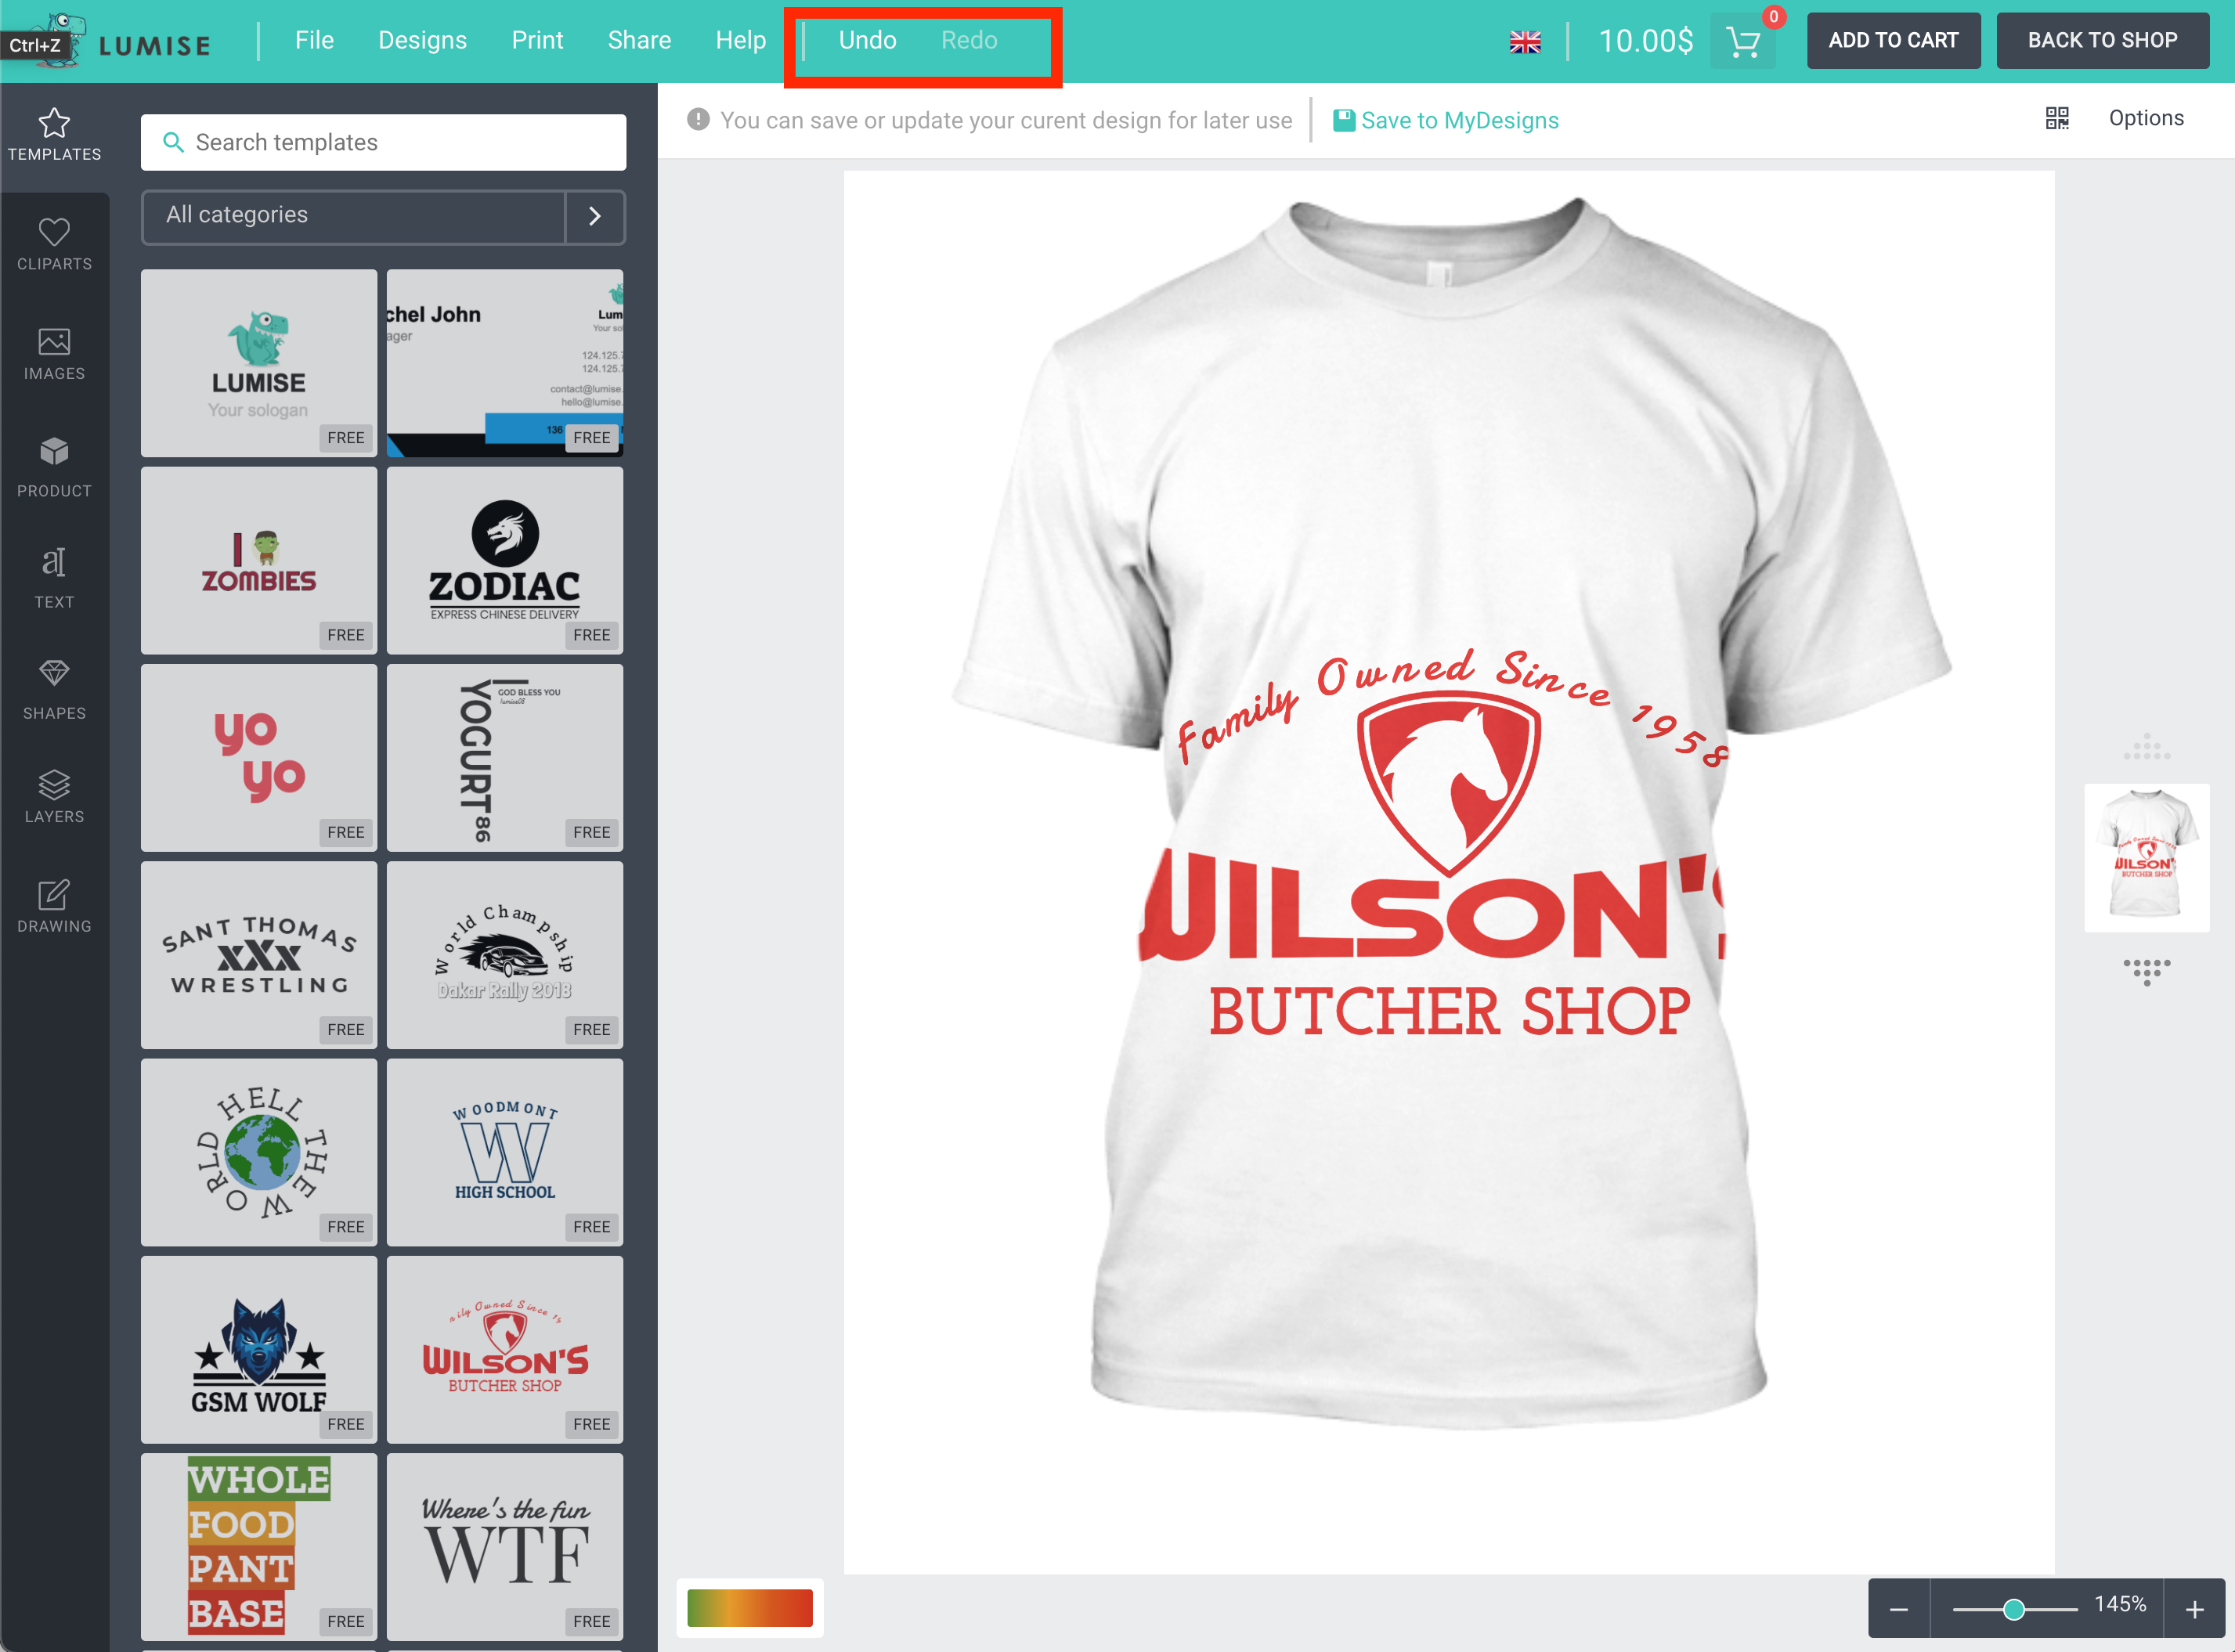
Undo/Redo
They are useful features on Lumise; you can track back to your works easier.
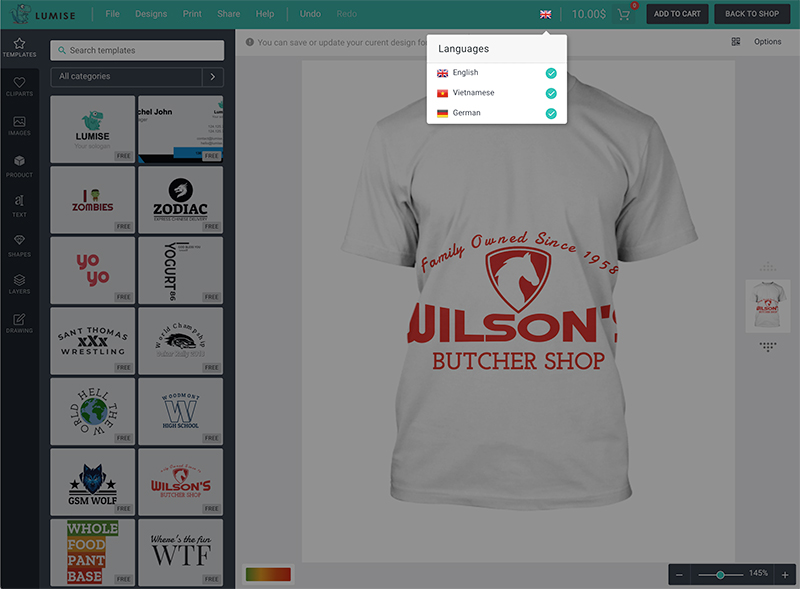
Languages
When admin enables the Allow users to change settings, users can switch to other languages from the dropdown

